How to Enhance Your Notepad++ Experience with the Compare Plugin – A Comprehensive Guide
Notepad++(Learn more here) is a popular text editor that offers users a wide range of features to help them edit and manage their files. However, one of the most beneficial plugins for this tool is the compare plugin, which allows users to compare two files or folders and highlight differences between them quickly. By integrating this plugin into your Notepad++ experience, you can enhance your productivity and save time from manually comparing files. In this comprehensive guide, we will explore how to add the compare plugin to Notepad++, and how to use it efficiently.
Notepad++ is a popular code editor among programmers, web developers, and other tech-savvy individuals. It has a simple user interface, a wide range of features, and is highly customizable. One of the most useful plugins for Notepad++ is the Compare plugin. This plugin allows you to compare two files or two versions of the same file side-by-side, making it easy to identify differences, merge changes, and ensure that your code is consistent.
In this article, we will provide you with a comprehensive guide on how to enhance your Notepad++ experience with the Compare plugin.
Step 1: Download and install the plugin
The first step in using the Compare plugin is to download and install it. To do this, follow these simple steps:
1. Open Notepad++.
2. Click on the “Plugins” menu.
3. Select “Plugin Manager,” then “Show Plugin Manager.”
4. Type “Compare” into the search bar.
5. Select “Compare” from the list of available plugins.
6. Click on “Install.”
Once the installation is complete, you can access the Compare plugin from the “Plugins” menu.
Step 2: Compare files
To compare two files using the Compare plugin, follow these steps:
1. Open the two files you want to compare in Notepad++.
2. Click on the “Plugins” menu.
3. Select “Compare,” then “Compare…”
4. In the dialog box that appears, select the two files you want to compare.
5. Click on “OK.”
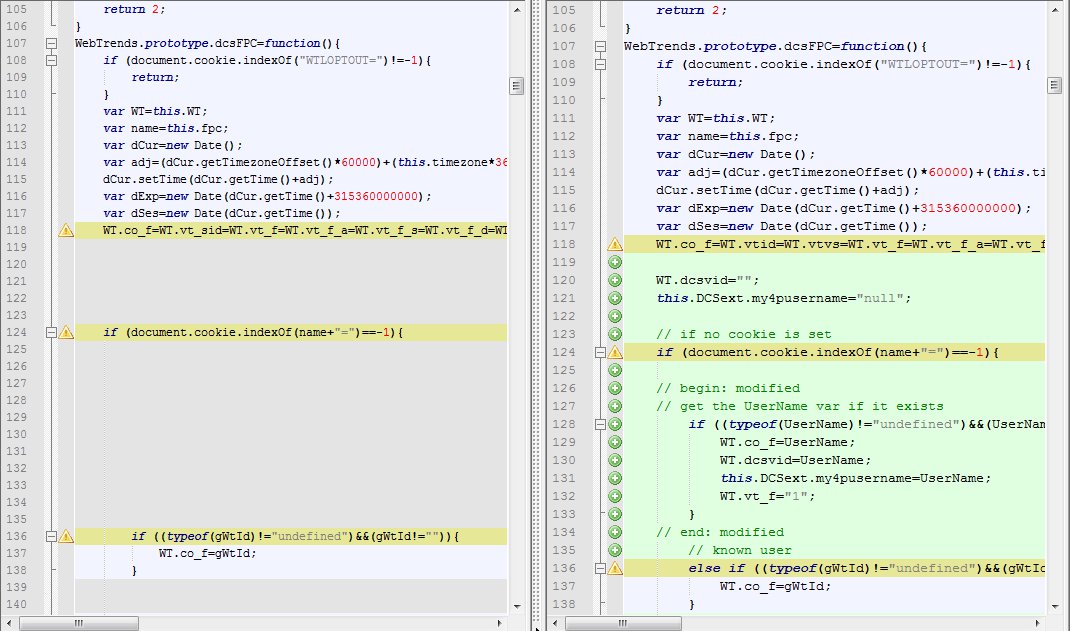
The Compare plugin will then open both files side-by-side and highlight any differences between them.
Step 3: Merge changes
If you need to merge changes between two files, the Compare plugin makes it easy to do so. Simply follow these steps:
1. Open the two files you want to merge in Notepad++.
2. Click on the “Plugins” menu.
3. Select “Compare,” then “Merge…”
4. In the dialog box that appears, select the two files you want to merge.
5. Choose the desired merge options.
6. Click on “OK.”
The Compare plugin will then open a third file that contains the merged changes between the two original files.
Step 4: Configure settings
The Compare plugin also allows you to configure various settings to customize your comparison experience. To do so, follow these steps:
1. Click on the “Plugins” menu.
2. Select “Compare,” then “Settings…”
3. In the dialog box that appears, you can adjust various settings such as font size, highlighting colors, and line numbers.
4. Click on “OK” to save your changes.
Conclusion:
Notepad++ is a powerful code editor that becomes even more versatile with the addition of the Compare plugin. With this plugin, you can easily compare, merge, and manage multiple files, saving you time and effort in your coding projects. By following this comprehensive guide, you can enhance your Notepad++ experience and improve your productivity.